


In this article, I'll introduce how to use the recently popular Gemini CLI to create and manage Obsidian notes with AI automation.
Note: I became aware of this approach thanks to a comment on my Obsidian YouTube video. Thank you very much for the valuable feedback!
Obsidian and AI-Powered Management
Obsidian is a powerful markdown-based knowledge management tool. While it offers the advantages of being lightweight and locally managed, it's also true that organizing information becomes time-consuming as your knowledge base grows. This is where Large Language Models (LLMs) become incredibly valuable.
For this type of use case, I previously introduced Claude integration with Obsidian.
However, this time I'll introduce a different approach: combining Google's AI "Gemini" through the Gemini CLI (which can be operated from the command line) with Obsidian's Terminal plugin to streamline Obsidian note management and creation. Importantly, Gemini CLI offers a free tier, making it an excellent alternative for those who find Claude's pricing challenging.
What is Gemini CLI?
Gemini CLI is a tool that allows you to interact with Google's powerful AI model "Gemini" conversationally through a command-line interface (CLI).
Key Features:
- Text Generation: Brainstorming ideas, text summarization, translation, and more
- File Operations: Read file contents for queries, save outputs directly to files
- Command-Line Based: Easy integration with other tools and scripts, lightweight and stable operation
The setup is relatively straightforward, but requires Node.js version 20 or higher. For installation instructions, please refer to the ZoteroMCP server article.

For Windows users, simply open Command Prompt and run:
npx https://github.com/google-gemini/gemini-cliAfter that, you can start it by typing "gemini".
You can get AI responses immediately by entering "your question" in the terminal.
Leveraging Obsidian's Terminal Plugin
The Terminal plugin in Obsidian is an excellent tool that allows you to launch a terminal directly within the Obsidian window and execute commands.
Using this plugin, you can operate command-line tools like Gemini CLI within Obsidian's interface, completing both editing and summarization tasks in a single screen. However, since using everything in one screen limits the visible area, there's absolutely no problem running the terminal in a separate window instead of using the plugin. Personally, I tried the plugin but found the screen too cramped, so I prefer opening it in a separate window.
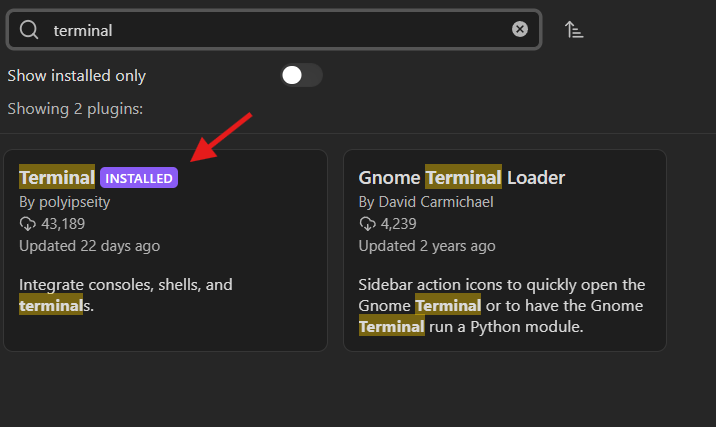
To use it, first go to Obsidian's settings, select "Community Plugins," and search for "terminal".
After installing this plugin, select "Terminal: Open current directory in terminal: Integrated" from the command palette (bottom option in the image).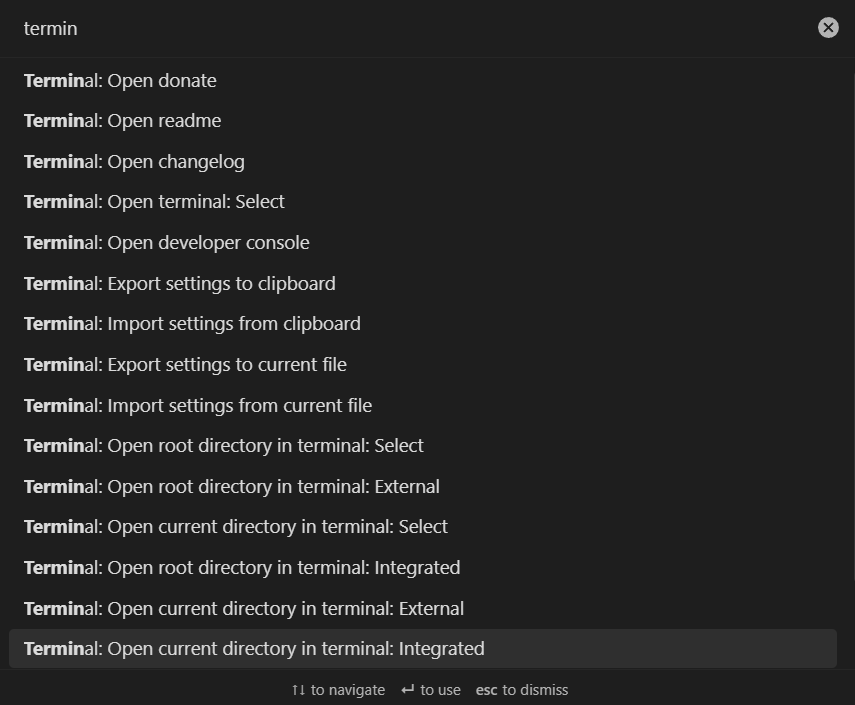
When you actually use it, it looks like this. You can see the terminal at the bottom. I'm running Gemini here.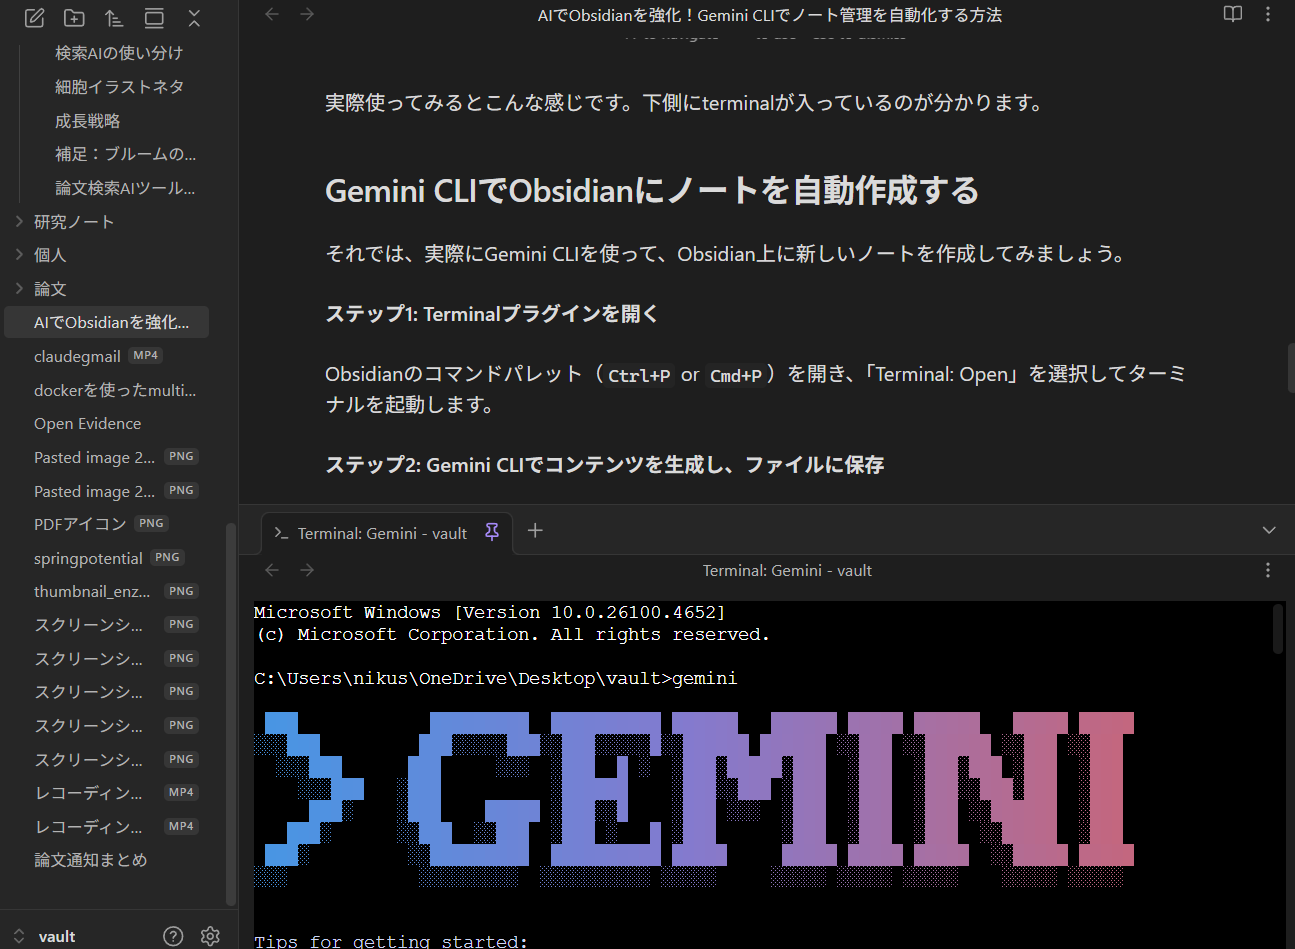
Auto-Creating Notes in Obsidian with Gemini CLI
Now, let's actually use Gemini CLI to create new notes in Obsidian.
Step 1: Open the Terminal Plugin
Open Obsidian's command palette (Ctrl+P or Cmd+P) and launch the terminal. Alternatively, on Windows, you can navigate to your Obsidian vault folder in Command Prompt and launch it from there.
Step 2: Generate Content with Gemini CLI and Save to File
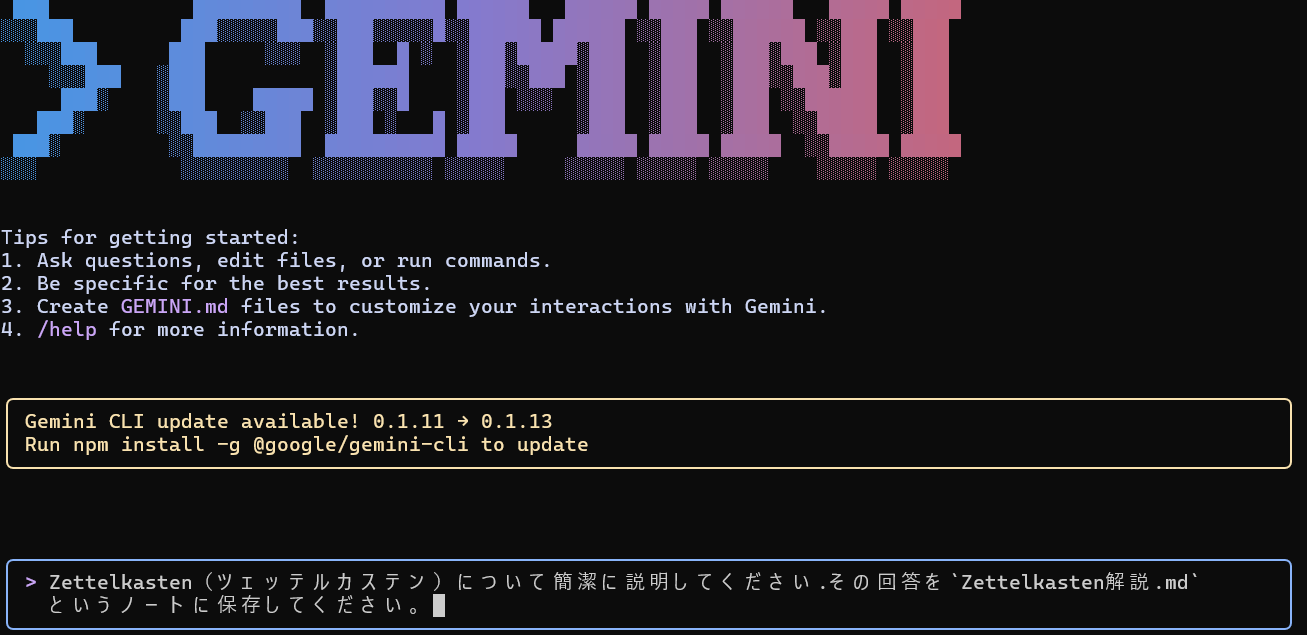
Enter the following command in the opened terminal. In this example, I'll prompt Gemini with "Please explain Zettelkasten concisely"(The text in the screenshot below is in Japanese) and save the response directly to a new note named Zettelkasten.md.
Step 3: Confirmation
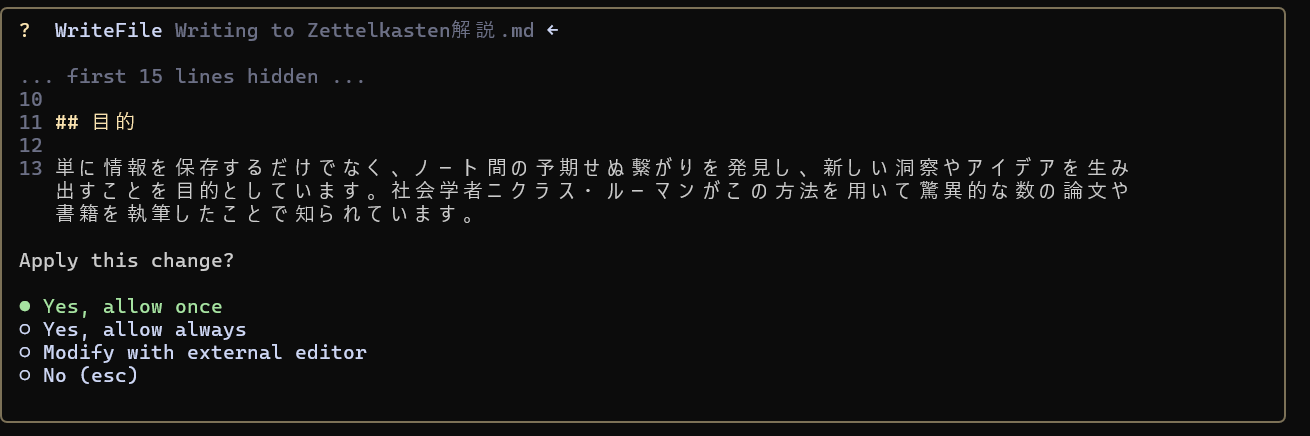
When you execute the command, you'll be asked for confirmation when file editing is required. Choose "Yes, allow once" for temporary approval, or "Yes, allow always" to proceed without confirmation during the session. If there are no behavioral issues, "always" is fine, but be cautious when dealing with important files or when there are files you don't want to accidentally delete (since the behavior isn't always predictable, it's safest not to use it in such directories).
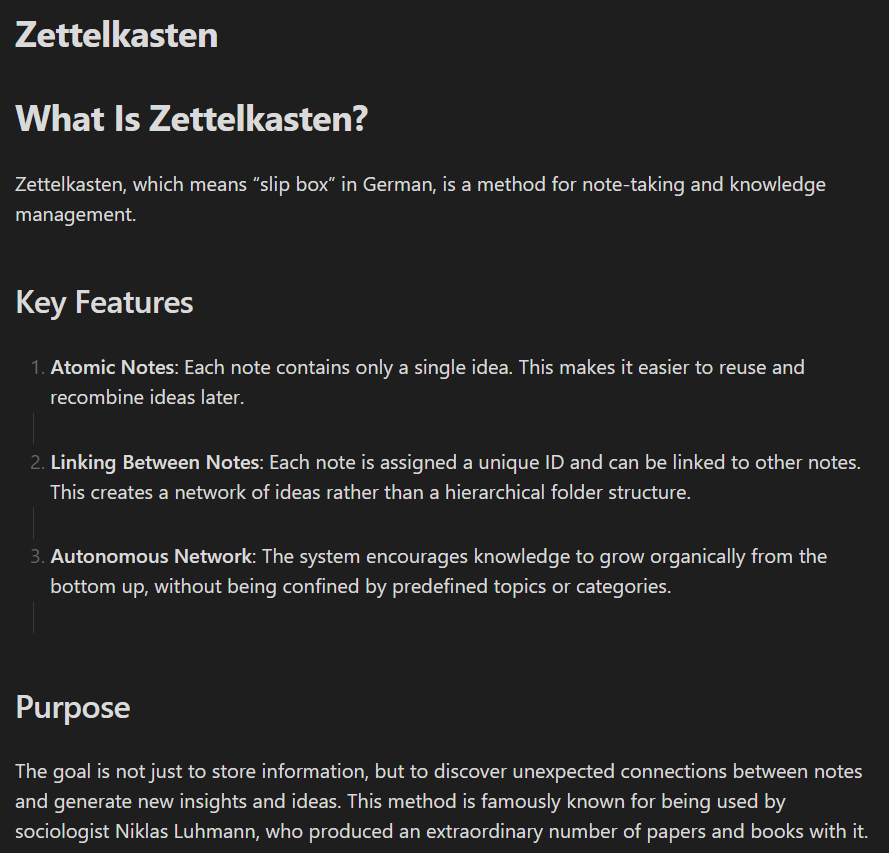
The file Zettelkasten解説.md is created in your Obsidian vault, and when you open it, you'll find Gemini's generated explanation written inside.
It's extremely speedy and user-friendly.
Other Use Cases
- Summarizing Existing Notes:
Summarize existing-note.md - Idea Generation:
Review the papers folder and suggest 5 new research ideas - Tag Organization:
Find tags in Obsidian and tell me their usage status
Tag management can be quite challenging, but it summarized everything.
This way, you can use notes within Obsidian quite freely. Since it can also write code, you can freely check or edit content organized as frontmatter within Obsidian.
Comparison with Claude Integration
I've summarized the differences from the previously introduced Claude integration. Since Claude's extensive extensibility is hard to replicate, I personally use them differently: Gemini CLI for single-purpose tasks like text summarization, and Claude when I want to integrate broadly and do various things.
| Aspect | Claude | Gemini CLI |
|---|---|---|
| Pricing | Paid subscription required (no free tier) | Free tier available (usage-based billing beyond limits) |
| Usage Method | GUI (intuitive and easy to use) | CLI (requires familiarity with command operations) |
| Stability | Can be unstable at times | Stable and fast |
| Integration | MCP allows integration with other tools | Primarily operates within directories |
Conclusion
By combining Gemini CLI with Obsidian's Terminal plugin, you can easily manage your knowledge space with AI assistance. The fact that a certain amount is usable for free is definitely a welcome feature. This will undoubtedly make your workflow for information gathering, organization, and creation more efficient.
If you've been hesitant about Claude's pricing and you're an Obsidian user, definitely give this approach a try.


コメント